
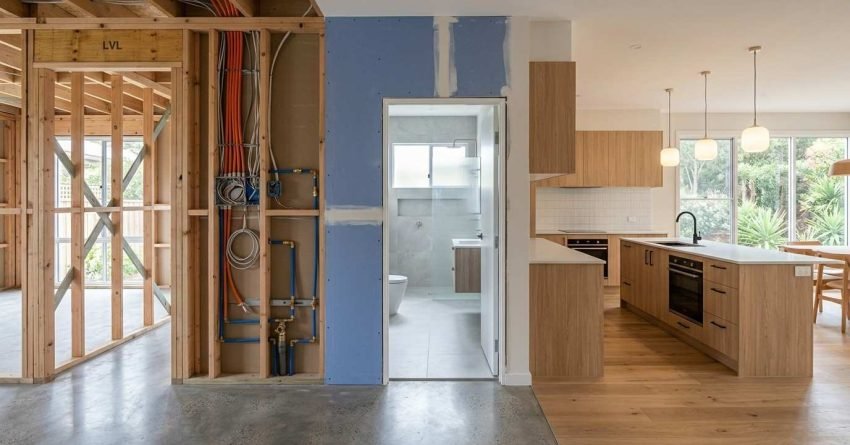
Getting the trade order right is the single most important decision you make before a renovation starts. Every step in a home renovation depends on the one before it and when that sequence breaks down, you pay for it twice.
Trades working out of order create rework, delays, and budget blowouts that are entirely avoidable. The sequence exists for a reason.
In this guide, I walk through every stage of the renovation sequence from demolition through to final handover so you know exactly what happens, when, and why.
Why Trade Sequencing Makes or Breaks a Renovation
Most renovation cost blowouts don’t come from expensive materials or bad luck. They come from poor coordination trades arriving in the wrong order, work getting undone, and time being wasted fixing problems that never needed to happen.
I’ve seen tilers called in before waterproofing was inspected. Electricians arriving before walls were sheeted. Cabinetry installed before tiling was complete. Every one of those mistakes meant rework, and rework means money.
The sequence I’m about to walk you through isn’t arbitrary. It follows the logical dependency chain of a renovation each trade creates the conditions the next trade needs to do their job properly.
Step 1: Demolition and Strip-Out
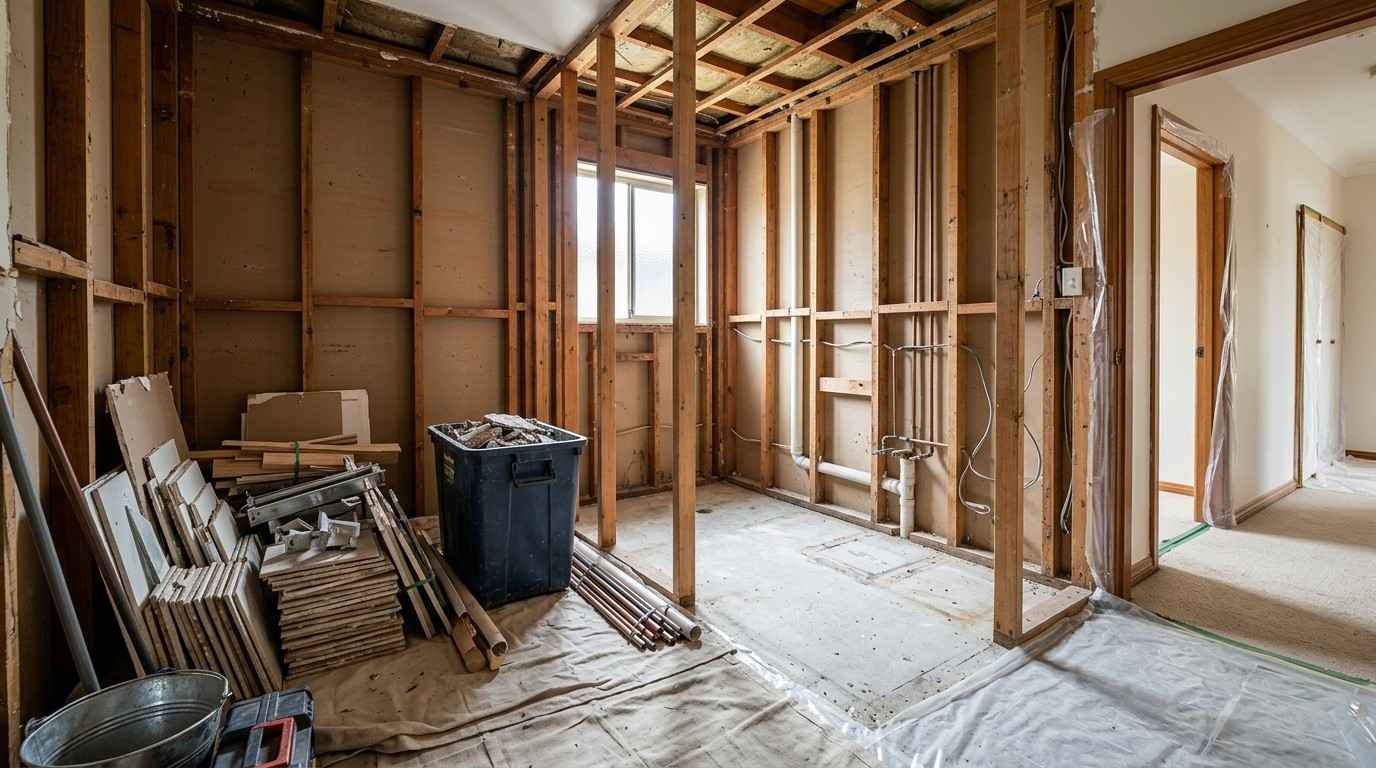
Demolition goes first. Before any new work can begin, the existing space needs to be cleared back to its structural bones.
This means removing old fixtures, fittings, tiles, cabinetry, and wall linings. In older Sydney homes, this stage also includes asbestos testing and removal a non-negotiable step before any cutting, drilling, or breaking begins.
Waste removal and site preparation happen here too. A clean, clear site is what every trade that follows actually needs to start work.
Step 2: Structural and Waterproofing Work
Once the space is stripped, any structural repairs happen next. This is the stage where framing is checked, damaged noggins are replaced, and any load-bearing concerns are addressed before surfaces go anywhere near the walls.
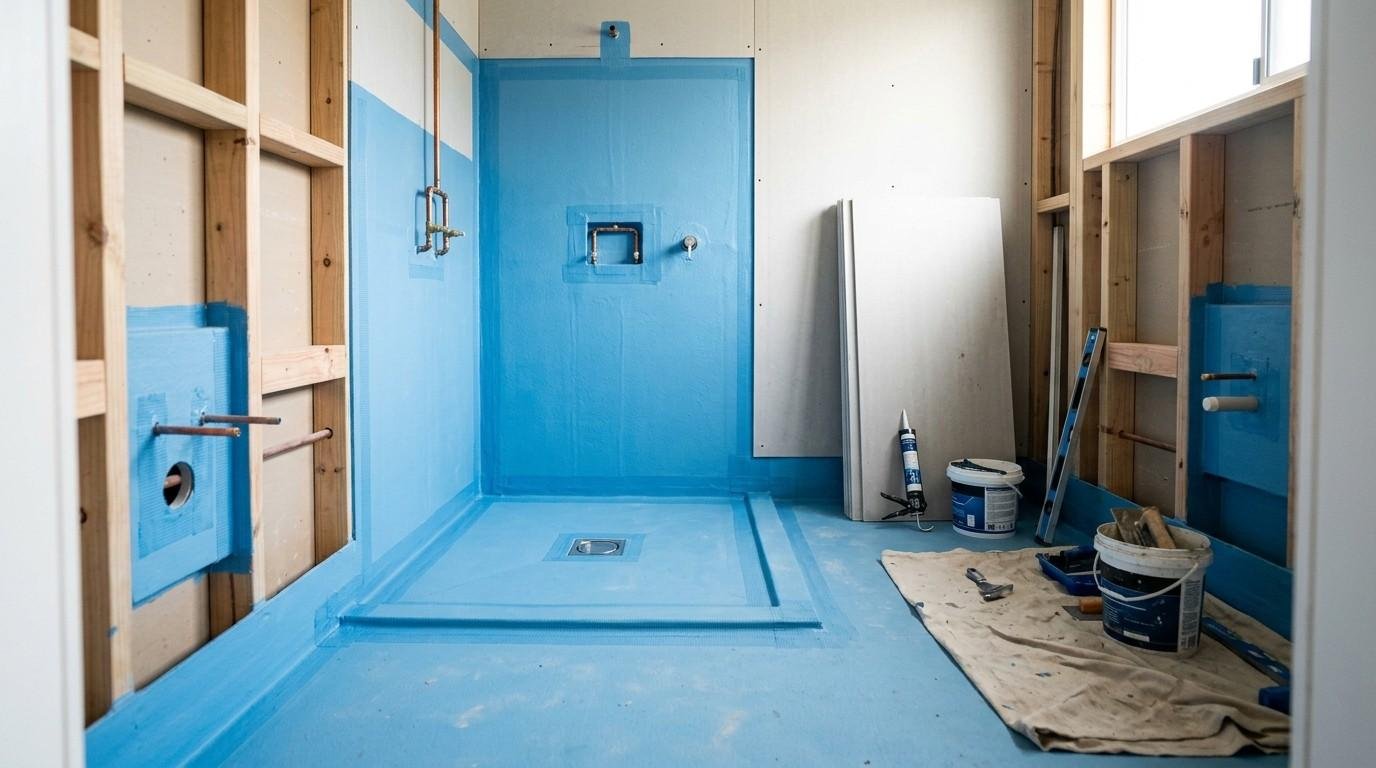
Waterproofing membrane application follows structural work and it must happen before any tiling, sheeting, or fixtures. In wet areas like bathrooms, waterproofing compliance under Australian standards is a legal requirement, not a preference. The membrane needs time to cure fully before the next trade touches it.
This is also the stage where substrate preparation happens making sure every surface that will receive tiles or sheeting is level, sound, and ready.
Step 3: Rough-In Trades Plumbing, Electrical, and Gas
Rough-in is where the services go in before walls close. Plumbing pipe runs, electrical cable routes, and gas lines are all installed through wall cavities and floor substrates at this stage.
All three rough-in trades can often run concurrently, which is one of the few genuine time-saving opportunities in a renovation sequence. But they must be coordinated a plumber and electrician working in the same wall cavity without communication creates conflicts that slow everything down.
Rough-in inspections happen before walls are sheeted. Licensed trades in NSW are required to have their rough-in work inspected and approved before enclosure skipping this step creates compliance problems at final inspection.
Step 4: Insulation and Wall Sheeting
Once rough-in inspections are signed off, insulation batts go in and wall sheeting follows. This is the enclosure phase the point where all the hidden work gets locked behind surfaces.
In wet areas, moisture-resistant plasterboard or tile backer board replaces standard plasterboard. Using the wrong sheeting product here is a common and expensive mistake standard plasterboard behind tiles in a shower will fail.
Fixing and nogging checks happen at this stage too. Every sheet needs proper support, and every fixing point for future cabinetry and fittings needs to be in place before the wall closes.
Step 5: Tiling and Waterproofing Sign-Off
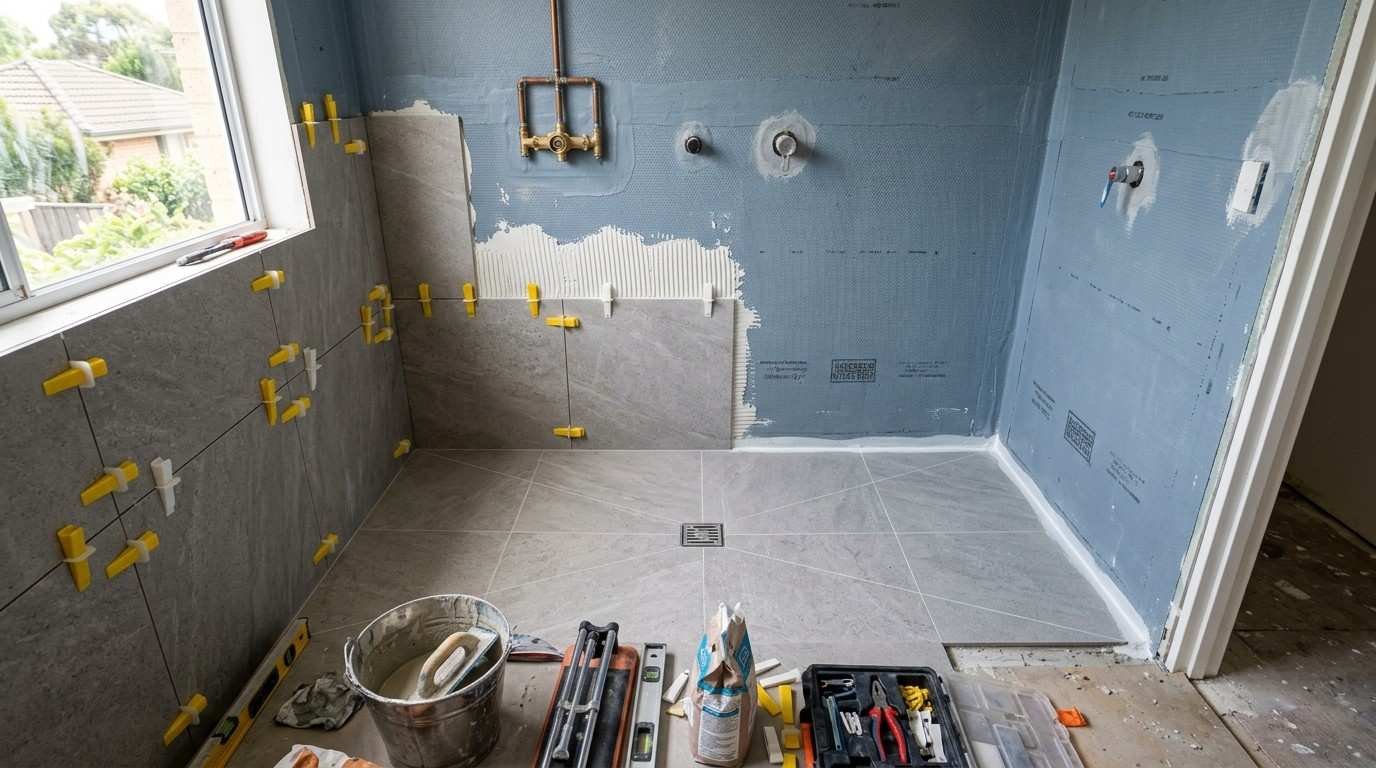
Tiling is one of the most visible stages of a renovation, but it only starts after a waterproofing inspection is completed and signed off. In NSW, a licensed waterproofer must certify the membrane before any tiles go down this is a mandatory hold point.
Floor tiles go in before wall tiles in most sequences, with careful attention to fall-to-drain gradients in wet areas. Tile layout, adhesive bed thickness, and grout joint consistency all affect the final result and the long-term performance of the surface.
Grout and silicone sealing complete this stage. The renovation doesn’t move to fixtures until tiling is fully cured and the wet area is ready to receive them.
Step 6: Fixing Trades Joinery, Cabinetry, and Doors
With tiling complete, the fixing stage begins. Vanity units, built-in storage, door frames, skirting boards, and architraves are all installed at this point.
Cabinetry goes in after tiling for a reason tiles set the finished floor and wall level that joinery sits against. Installing cabinetry before tiling means guessing at heights and tolerances, which creates gaps, misalignments, and callbacks.
This is also the stage where door hardware, towel rails, and accessory backing plates are fixed ready for second fix trades to connect to.
Step 7: Second Fix Plumbing, Electrical, and Gas
Second fix is where the renovation starts to look finished. Tapware, toilet suites, vanity basins, shower heads, power points, light fittings, exhaust fans, and gas appliances are all connected and commissioned at this stage.
The distinction between first fix and second fix trades is one of the most misunderstood parts of the renovation sequence. First fix runs services through the structure. Second fix connects those services to the finished fittings and it only happens after all surfaces are complete.
Rushing second fix before surfaces are done is one of the most common sequencing errors I see. It means trades working around incomplete finishes, damaging surfaces, and returning for callbacks.
Step 8: Painting and Final Finishes
Painting comes after tiling and second fix are complete not before. I know that sounds counterintuitive to some homeowners, but painting over incomplete surfaces means repainting after every trade that follows.
Surface preparation, priming, and top coats happen in sequence. Caulking and silicone sealing around fixtures, junctions, and penetrations are completed at this stage too these are the details that separate a quality finish from one that fails within twelve months.
Touch-ups happen last, after every other trade has finished and left the site.
Step 9: Final Inspections and Practical Completion
Final inspection is the last formal hold point before handover. A certifier or building inspector reviews the completed work against the approved plans and relevant building codes.
Practical completion means the work is finished to a standard where the space can be used but it doesn’t mean defect-free. A defects list, sometimes called a punch list, captures any outstanding items that need to be rectified before final payment is released.
In NSW, occupation certificates and compliance documentation are required for certain renovation scopes. Knowing what sign-offs apply to your project before work starts saves significant delays at the end.
Common Sequencing Mistakes That Cost Homeowners Money
The most expensive sequencing mistake is calling trades too early. A tiler on site before waterproofing is inspected, a cabinet maker arriving before tiles are laid, a painter starting before second fix is complete each one creates a chain reaction of delays and rework costs.
The second most common mistake is running trades in parallel when they have a dependency. Plumbing and electrical rough-in can overlap. Tiling and cabinetry cannot. Understanding which stages have genuine flexibility and which are hard dependencies is what separates a well-run renovation from a costly one.
Poor renovation project coordination is the root cause of most budget blowouts I see. The sequence itself isn’t complicated but managing the trades, the inspections, and the hold points requires someone who knows the order and enforces it.
Conclusion
Getting the renovation sequence right is how projects stay on budget, on schedule, and built to last. Every step in this guide exists because the trade that follows it depends on it being done correctly first.
Understanding the sequence gives you the confidence to ask the right questions, spot problems early, and hold your contractor accountable at every stage.
At Sydney Home Renovation, we manage the full trade sequence from demolition to handover coordinating every inspection, every hold point, and every trade so your renovation runs the way it should. Reach out to our team to start planning your project today.
Frequently Asked Questions
What trade goes first in a home renovation?
Demolition and strip-out always go first. The existing space needs to be cleared back to its structural elements before any new work can begin including structural repairs, waterproofing, and rough-in trades.
Can plumbing and electrical rough-in run at the same time?
Yes, plumbing and electrical rough-in can run concurrently in most cases. Both trades work through wall cavities and floor substrates before walls are sheeted, so coordinating them at the same stage saves time without creating sequencing conflicts.
Why does waterproofing need to be inspected before tiling?
In NSW, waterproofing in wet areas is a mandatory hold point. A licensed waterproofer must certify the membrane before any tiles are laid this is a legal requirement under Australian building standards, not an optional step.
What happens if trades work out of sequence?
Out-of-sequence work almost always creates rework. Surfaces get damaged, finishes need to be redone, and trades return for callbacks all of which add cost and time to the project. Sequencing errors are one of the leading causes of renovation budget blowouts.
How long does a full renovation sequence take from demolition to handover?
A standard bathroom renovation in Sydney typically runs four to six weeks from demolition to practical completion, depending on scope, trade availability, and inspection turnaround times. Larger or more complex renovations take longer.
Do I need a building permit for a bathroom renovation in Sydney?
Most bathroom renovations in Sydney fall under complying development or require a development application depending on the scope of structural work involved. It’s worth confirming your permit requirements with a certifier before work starts to avoid compliance issues at final inspection.
What is the difference between first fix and second fix trades?
First fix covers all the services work done before walls are closed pipe runs, cable routes, and gas lines through wall cavities. Second fix is the connection stage after surfaces are complete tapware, light fittings, power points, and appliances are all installed and commissioned at second fix.


